Maurois Film Pack 01
One LUT and one PowerGrade for Sony S-Log3. One click turns flat log into a frame. Install guide inside the pack.
Free. No email. Straight to Google Drive.
Before / After
The same frame, graded
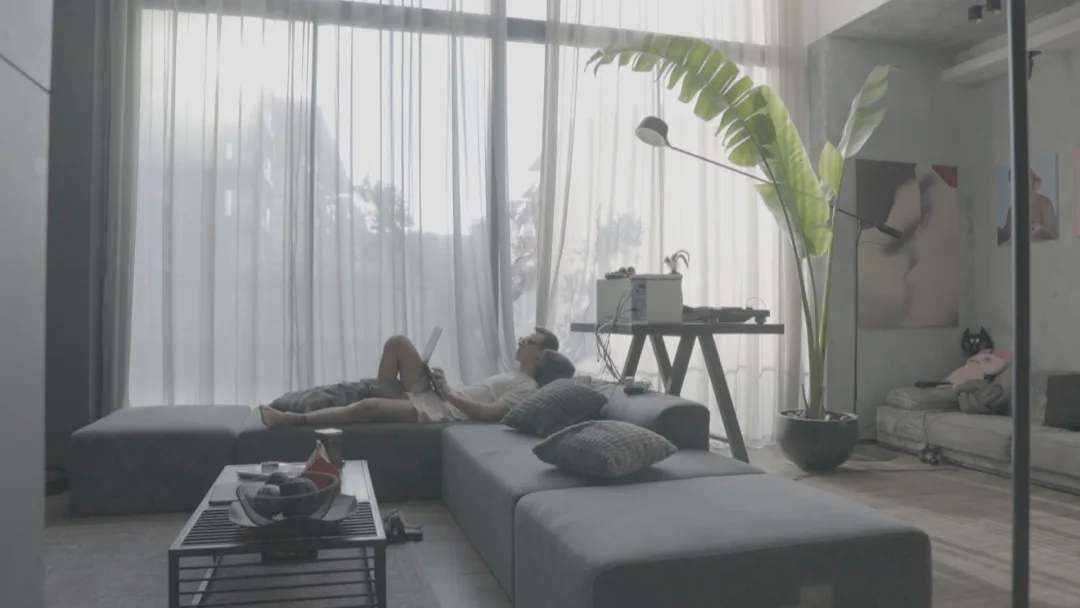
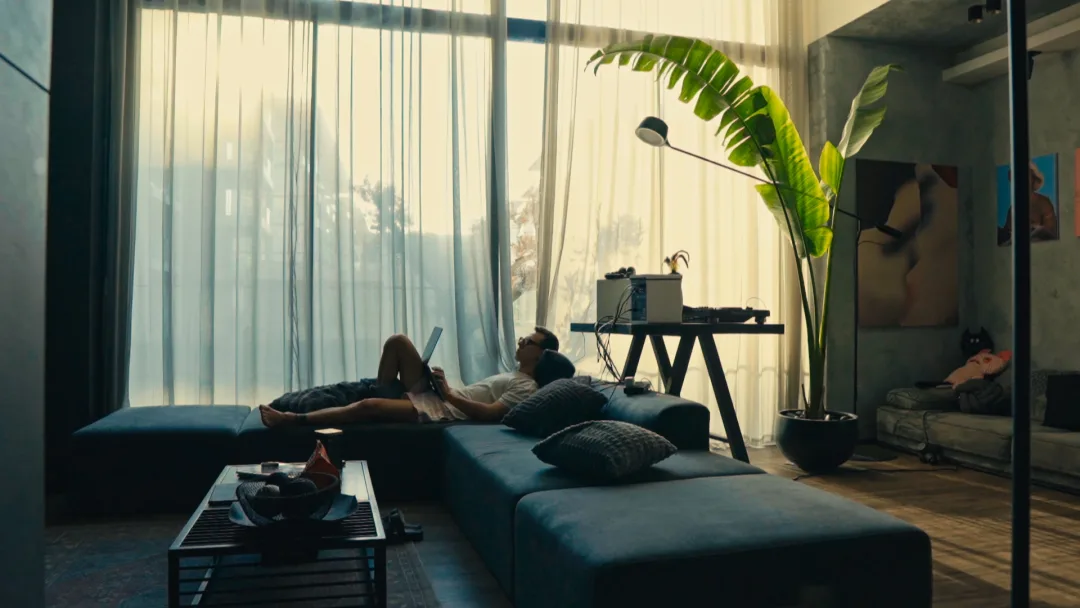
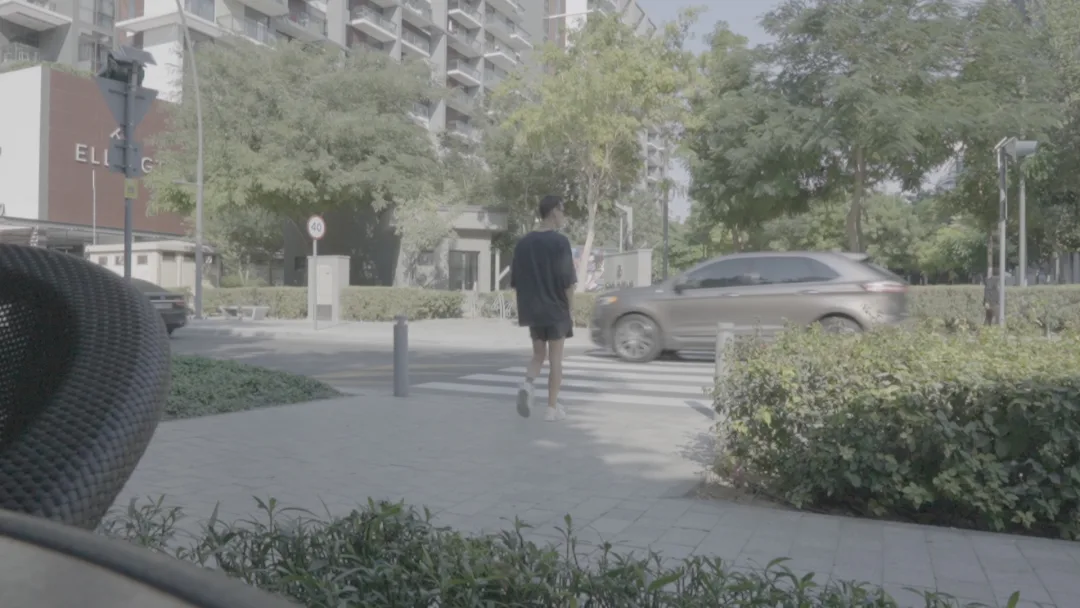
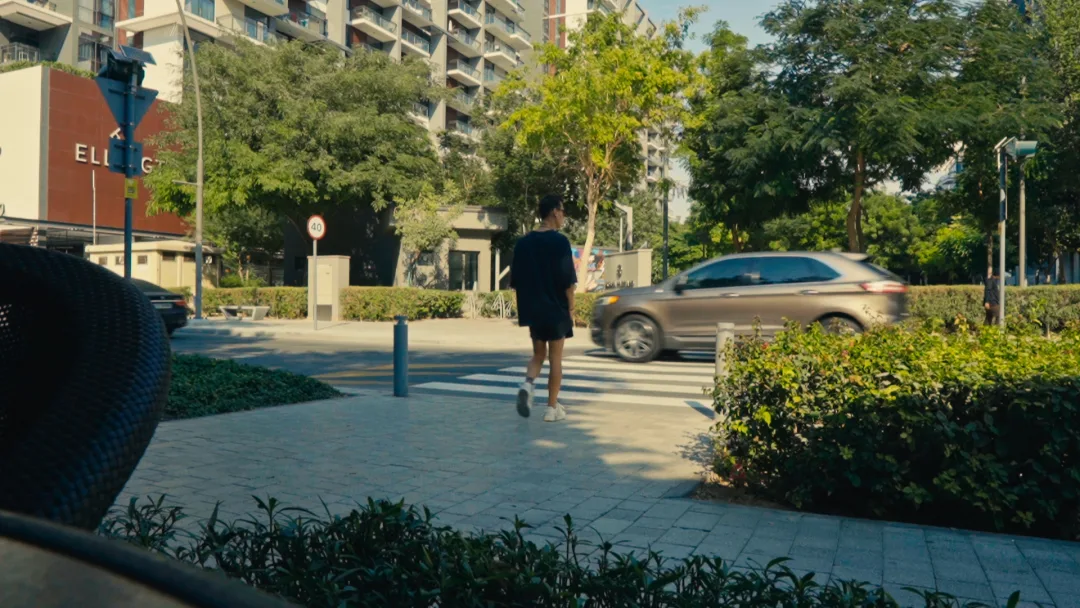
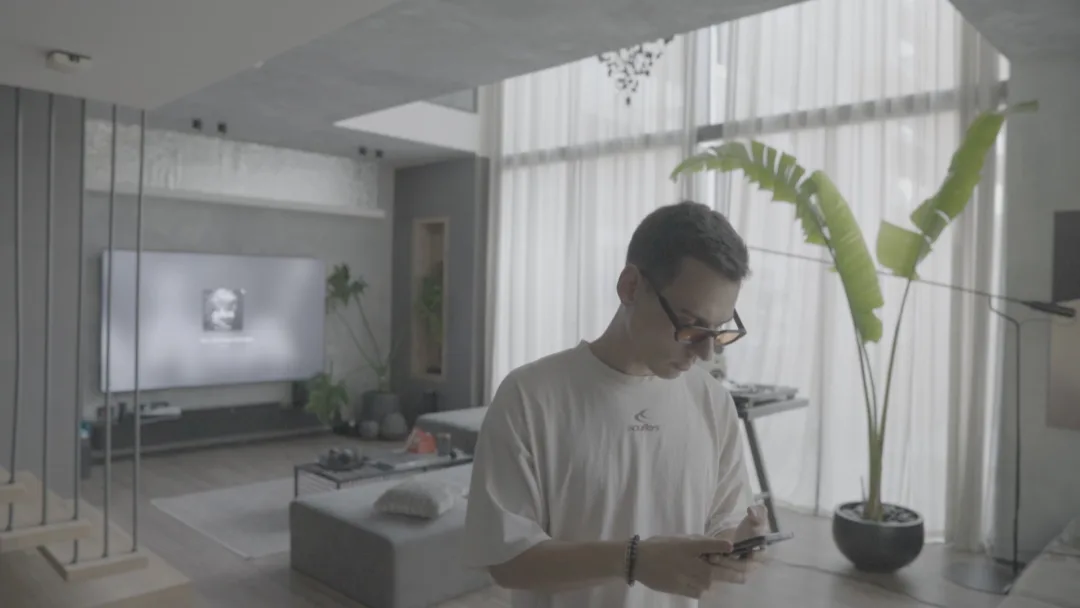

Drag to compare
What’s inside
-
The LUT
.cube
Drop it on S-Log3 footage and you are ninety percent there.
-
The PowerGrade
.drx + .dpx
The full node tree for DaVinci Resolve 18+. Take it apart and see how it is built.
-
The guide
.mp4
How to install it, and what to do when the skin goes wrong.
About the pack
Film Pack 01 is the grade I built on my own footage in Dubai: glass towers at noon, a curtain against the sun, the street at six in the evening. Shadows run cool, highlights hold a warm cream note, and skin stays skin instead of drifting yellow.
This is not a filter laid over the picture. It is a colourist’s starting point: drop it on S-Log3, pull exposure and white balance to your scene, and the frame is there. The PowerGrade opens the whole node tree — you can see exactly how the grade is built, take it apart, and make it yours.
The LUT expects properly exposed S-Log3 / S-Gamut3.Cine. If the exposure missed on set, no LUT will fix that.
Requirements
Works in: DaVinci Resolve 18+ · Premiere Pro · Final Cut Pro · CapCut Desktop
Shot on Sony in S-Log3 / S-Gamut3.Cine. The free version of Resolve is enough.
How to install
- On the Color page open the LUTs panel, right-click any folder and choose “Open File Location”. Drop the
.cubeinto a new Maurois folder, then right-click → “Refresh Lists”. - Right-click the first node of your clip and pick the LUT out of the Maurois folder.
- For the PowerGrade: open the Gallery, right-click → “Import”, select the
.drx, then right-click the still → “Apply Grade”.
- Select the clip and open Lumetri Color → Basic Correction.
- Open the Input LUT dropdown, choose “Browse…” and select the
.cube. - Pull Exposure and White Balance to your scene afterwards — the LUT expects correctly exposed log, not a rescue.
- In the Inspector set the clip’s own Camera LUT to “None”, so the log is not converted twice.
- From the Effects browser add the “Custom LUT” effect to the clip.
- In the Inspector open the LUT dropdown, choose “Choose Custom LUT…” and select the
.cube.
- Select the clip and open Adjustment → LUT.
- Click “Import” and select the
.cube. - Leave intensity at 100 and correct exposure before you judge the colour.